Before // After
Set-by-step breakdown and layer breakdown below.
Before.

After.
Before.

After.

Before.

After.
So, how do we get from before to after?
I like to keep my editing fairly simple and basic especially when it comes to street/docu photos. This set was actually edited a bit more drastically than I typically do.
The thought process to my editing
Note: Sometimes I mix steps around depending on the photo and my intentions.
- Any touch-ups / distraction removals, (if needed)
- Basic Exposure Corrections / White Balance
- Subject separation / color grade ( Sometimes these are separate sometimes the same steps )
Image Out of Camera
This was taken on my Fujifilm X-T3. #1 Reason I love the camera, is the nearly perfect jpgs with high tolerance to manipulation. I still shoot jpg/RAW but normally I don't bother with touching the RAWs unless it really requires some major adjusting. This has almost never happened since the EVF really takes any "guess work/estimations" out of the equation. Not to mention, I love the colors that come from the Fuji jpgs so I don't want to totally mess up the colors, by processing RAWs.

Jpg straight out of camera.
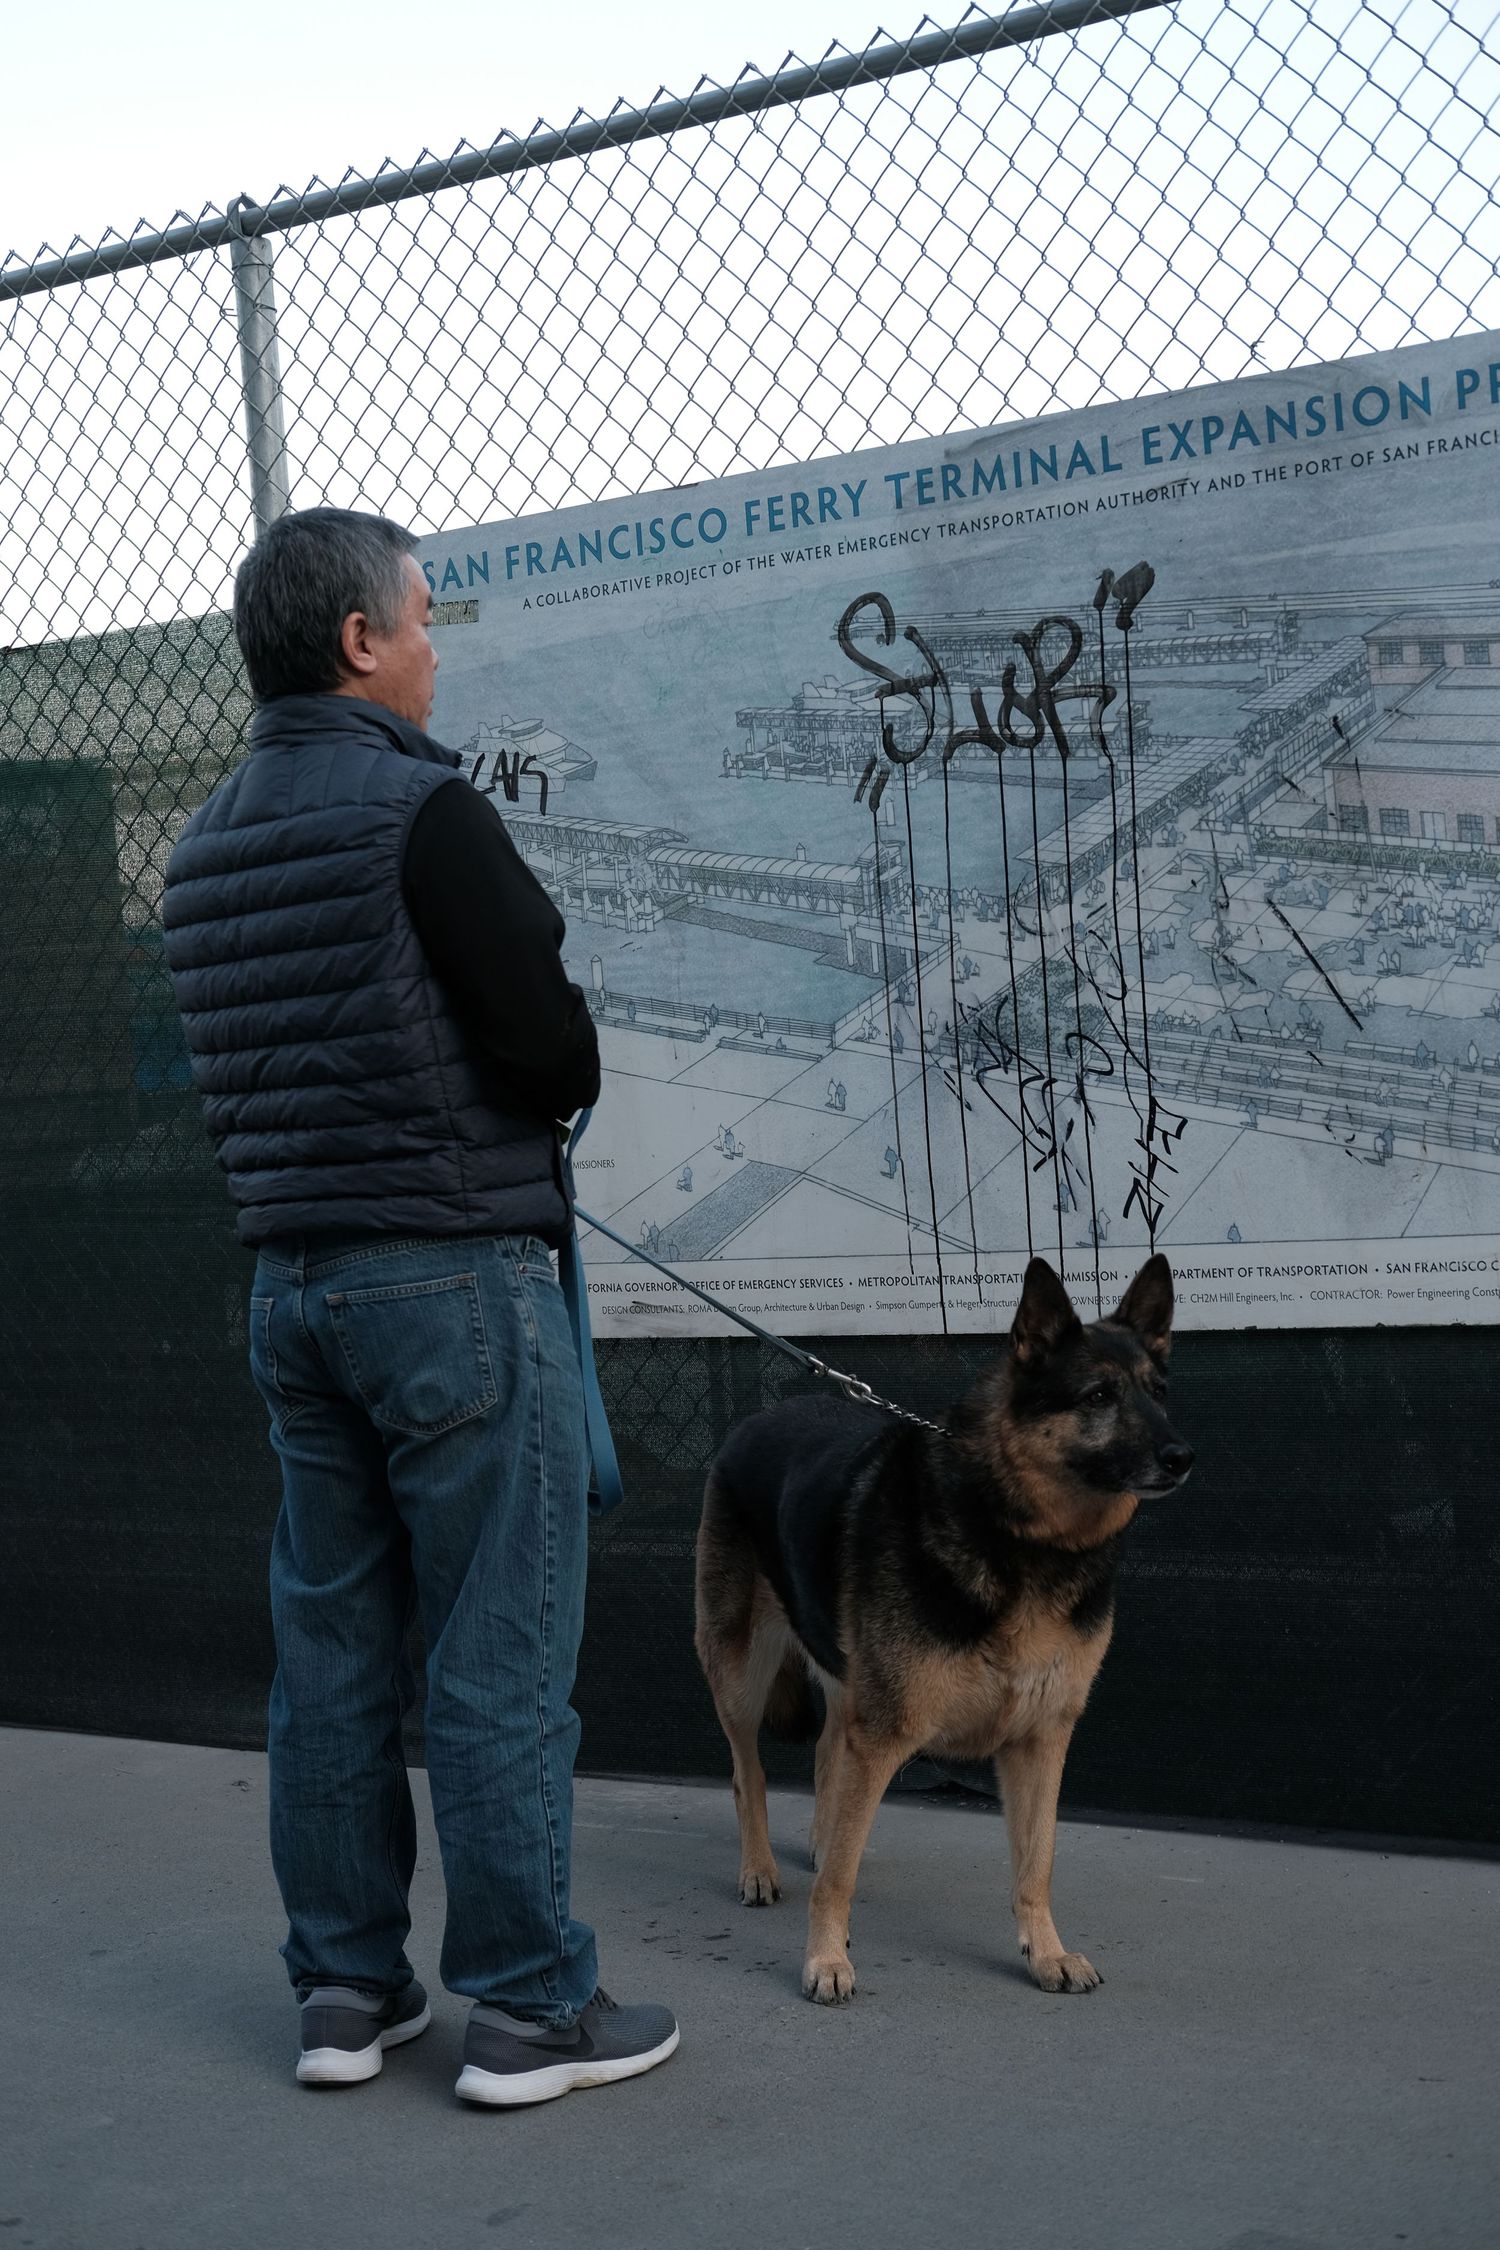
Touch-ups / Distraction Removal
This is a step that I cannot go without. As my background in cinema taught me to make sure everything in the frame is intentional and, this is something extremely difficult to do shooting in public. I do my best to frame shots without any distractions but those little things like stray napkins flying around get removed, where practical.

Distraction Removal.
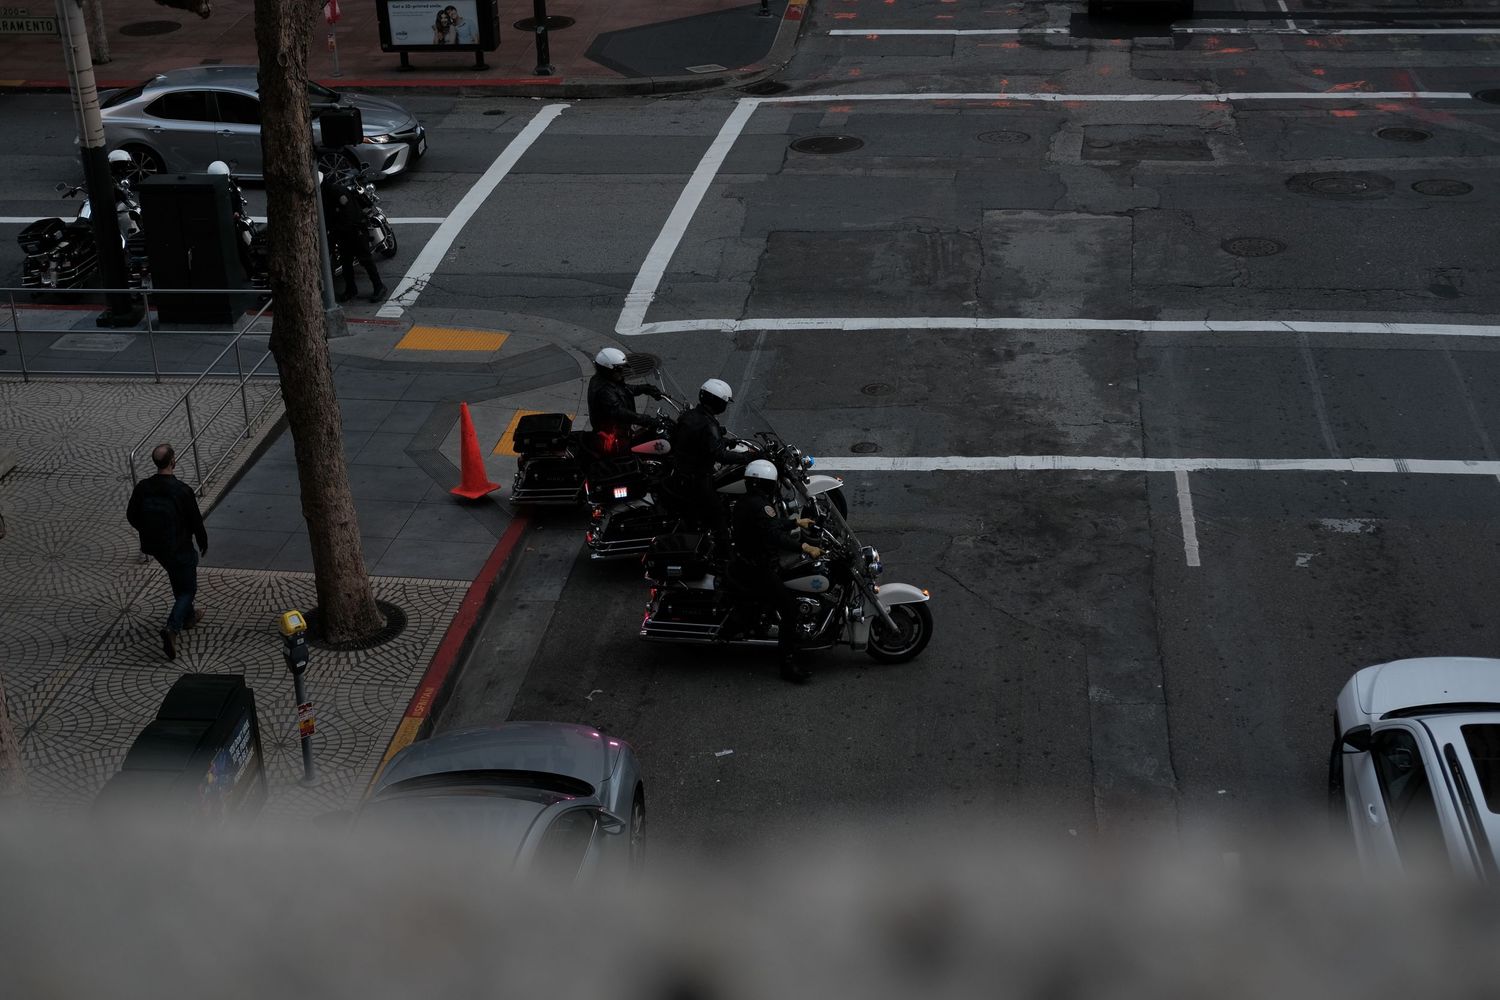
White Balance Correction
In the past, I strongly struggled with getting a good white balance. Now, I use a technique in Photoshop where I create a neutral gray layer, set a threshold level of 2-5, and use the curves neutral gray dropper to select the gray point. This is an "advanced" technique that gets nearly perfect color, each time. Assuming there is at least a tiny spot of gray in frame.

White Balance.
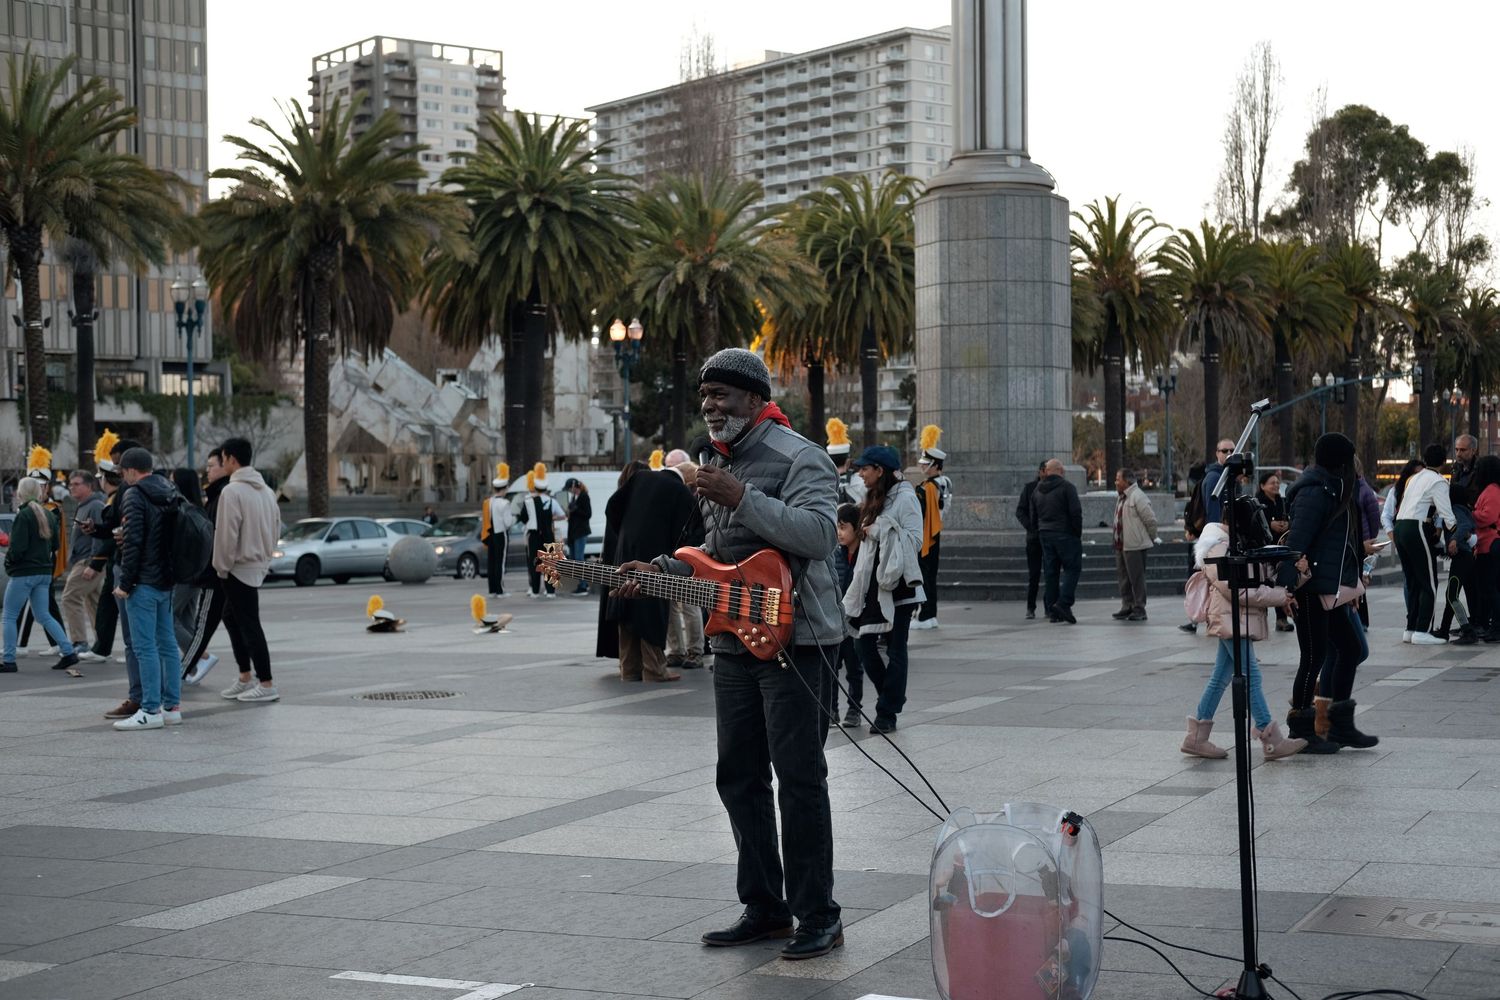
Subject Separation
This is something many new photographers/editors miss. It is a key concept in storytelling, another thing I picked up from my cinema background. Subject separation can be achieved numerous ways. Ie. exposure contrast, luminosity contrast (yes, those are different), color contrast, composition, sharpening and a few other ways.

Subject Seperation.
Color Grade
Coloring photos can be achieved a ridiculous number of ways. The biggest trouble most photographers/editors run into is trying to do too many methods at once, myself included. If you want to really go hard on color grading, I recommend using RAWs to pull as much color out of it as possible then export to TIFFs with a high color retention. more than 8bit.
The way I achieve my color grade for this set is using subtle mix of gradient map, selective color, color balance, and curves.
Color Graded - Final Image.
Photoshop Layer breakdown:

Photoshop CC Layers.
Interested in Photo Editing?
I am available for one-on-one video call editing sessions where I can help you though your editing, at your pace. Likewise, if you have photos you need edited but don't want to spend the time, you can send them over to be edited.
Editing workshops: 1 hour Photoshop and/or camera raw editing one-on-one. Settings, color grading, retouching, frequency separation, etc.
Website Consults: 1-2 hour evaluation of your website, content, and SEO with you. Create detailed plan for improvement on site performance.
Photo Editing: Need photos retouched, color graded, or edited in any way? Send me request with a link to the photos for a quote. Photos must be high resolution or RAWs.
**Subject to availability and photographer's discretion for scope of project.
Contact me for Quotes
